 Punchlee
Cabinet installation checklist
43 checks for the whole install, from the delivery truck to handover. For installers, contractors and anyone checking the work.
Most cabinet problems that show up at the end of a job were decided in the first hour: a missed damaged box, a level line taken from the low point of the floor, or a wall cabinet screwed into drywall. This checklist follows the order of a real install day.
Before install day
- Count every box against the order before the delivery driver leaves
- Open and check each cabinet for damage, wrong finish or wrong hinge side
- Confirm appliance specs are final: fridge width and depth, range, dishwasher, hood
- Find and mark studs on every wall that gets cabinets
- Find the high point of the floor and snap a level line for the base cabinets from it
- Snap a level line for the bottom of the wall cabinets (commonly 54 inches from the floor, but check the plan)
- Check that plumbing, electrical and vent locations match the cabinet layout
- Check walls for plumb and corners for square so you know where scribes are needed
Base cabinets
- Start from the corner or the fixed point in the plan, not from wherever is easy
- Shim to the level line; never pull a cabinet out of level to meet the wall
- Screw through the back rail into studs, not just into drywall
- Clamp and screw face frames together so they are flush with no gaps
- Sink base cut-outs are clean and sized for the plumbing
- Dishwasher opening is exact to spec and square
- Bases are level across the whole run, front to back and side to side, so the countertop sits flat
Wall cabinets
- Hung on the level line, screwed into studs with cabinet screws, not drywall screws
- Tops of wall cabinets line up with each other and with tall cabinets
- Face frames flush and joined
- Microwave and hood cabinets sized and blocked for the appliance
- Nothing is carrying weight on a ledger that will be removed
Tall cabinets and panels
- Pantry and oven cabinets are plumb and anchored so they cannot tip
- Oven cabinet cut-out matches the oven spec
- End panels and appliance panels are scribed tight to the wall and floor
- Fridge panels leave the air gap the fridge manufacturer requires
Fillers, scribes and trim
- Fillers are wide enough that doors and drawers clear handles and the wall
- Scribes follow the wall with no visible gap
- Crown moulding mitres are closed and nailed, with nail holes filled
- Light rail is level and hides under cabinet lighting
- Toe kicks installed, straight and tight to the floor
Doors, drawers and hardware
- Doors adjusted so gaps are even and tops line up across the run
- Drawers open fully and close flush; soft-close working
- Hardware installed with a template, all at the same height, tight
- Bumpers on every door
- Shelves installed with pins in the right holes
Before the countertop template
- All bases level and secure, with no rocking
- Sink base ready for the sink the fabricator is using
- Support for overhangs and any seating area is installed
- Appliance and cabinet locations are final, so the template is only made once
Handover
- Wipe down every cabinet inside and out
- Protect finished cabinets if other trades are still working
- Leftover fillers, touch up kit and extra hardware labelled and left for the owner
- Walk the owner through hinge and drawer adjustment
- Write down what is still open, with a photo, and who owns it
Turning what fails into a punch list
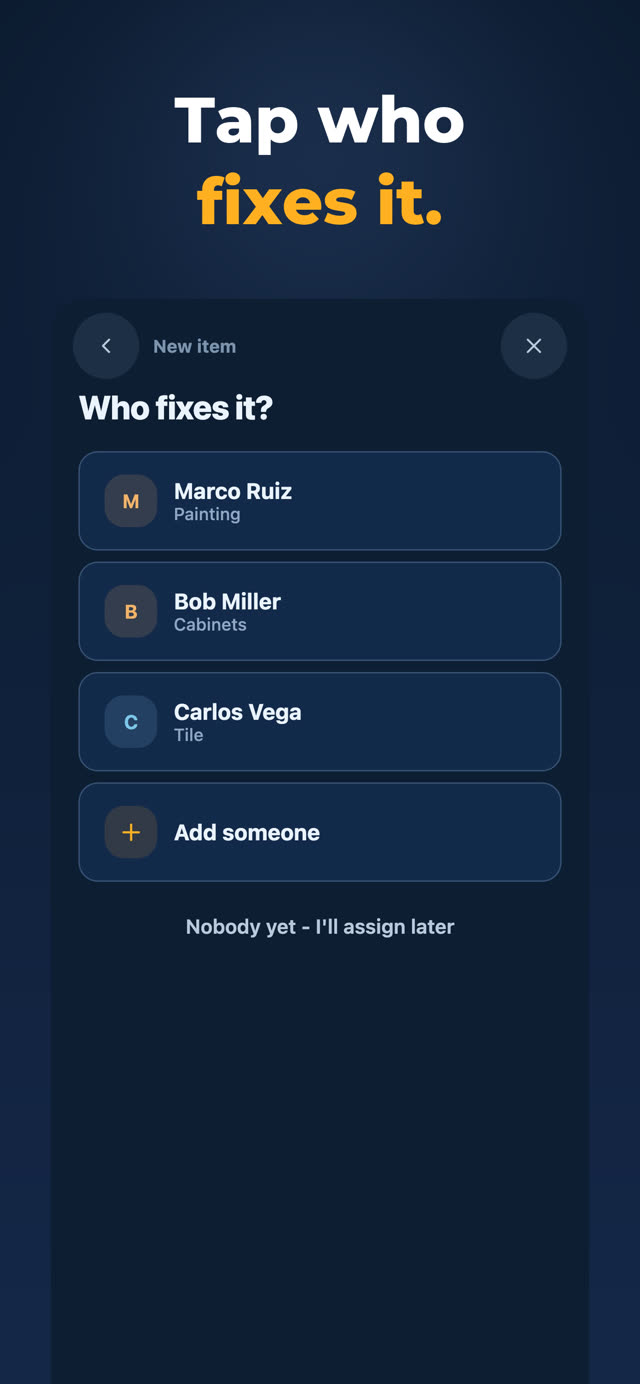
Every item that does not pass goes on the punch list with a photo and a name: which cabinet, what is wrong, who fixes it. For cabinet work that is usually the installer, but damaged boxes go to the supplier and gaps at the wall may need the painter or drywall crew. Write it so the right person can fix it without calling you; here is how.
Do it on your phone instead
Punchlee turns every item into a photo your crew can act on. Photo it, circle it, pick who fixes it. They mark it done with their own photo and you approve it from anywhere. Your crew gets the app free, and everyone reads the list in their own language.